How to Use a Zune
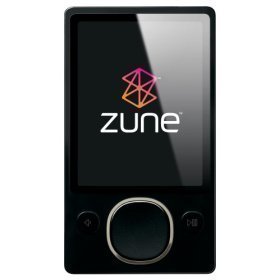
A Zune is a portable media player that is essentially the Microsoft version of the Apple iPod. Like the Apple iPod, Zunes are available in many different models that have varying specifications. However, all Zunes include a screen, a clickwheel, a power button, a pause/play button, and an earphones port. Some models also include an SD slot, a built-in camera, and a variety of attachments such as speaker docking systems. However, the Zune brand also includes media player software, a music subscription service, and an application for Windows Phone 7.
How to Access Files
Accessing files on a Zune is as easy as accessing files on any other portable media player. To do so:
1) Connect the Zune to a computer via its built-in USB port.
2) Install the Zune media player on the computer in question.
3) Open the Zune media player, connect as Guest, select the Device tab, and select the Zune.
4) View all files and either drag and drop them into the PC icon at the bottom of the interface or right-click a file and select “Copy to Collection.” This will place the Zune files on the computer.
How to Personalize Zune
The first step to personalizing a Zune is to give it a name that will be displayed in the Zune media player whenever the Zune is connected to the computer. This can be done in the initial setup process when the user first connects his/her Zune to a computer. Another personalization technique that can be performed in the initial setup process is to link the Zune with a Zune tag, which is a user profile that connects to other Zune users online. The user can also create playlists on his/her Zune by opening the Zune media player, selecting the Navigation pane, right-clicking Playlists, and selecting Create Playlist. This will add a new playlist to the lists on the right-hand side of the interface that the user can rename by double-clicking and entering a new name. The user can then drag new files into the playlist in any order he/she wishes, save the playlist, and synchronize the Zune with the computer.


Comments - No Responses to “How to Use a Zune”
Sorry but comments are closed at this time.