
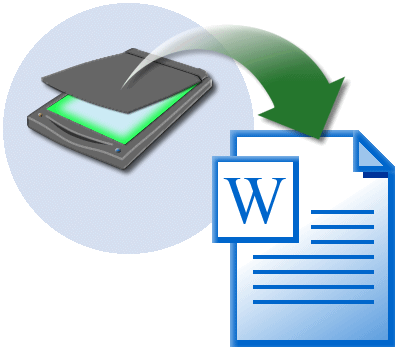
How to Scan Documents
One of the nice things about having a scanner is that you are able to take a physical document, put it on the scanner and with a push of the button, have it now available on your computer as an image. This is different from a copier because instead of creating identical hard copies, the scanner takes an identical electronic copy to work with in a picture editing software.
How to Scan a Document
The first step in scanning a document is ensuring that the scanner is installed and hooked up properly. You want to make sure that the one you purchased works with the computer that you have. For the most part, as long as you are not trying to use a brand new scanner on a fifteen year old computer, you’ll be fine with any scanner you purchase. Make sure all of the drivers have been installed and the USB cable is in its slot.
Turn on the scanner and open up the lid. This way, you are looking down at the glass of the scanner. With the document in hand, lay it face down so that the text–or image for that matter–is against the glass. Put it in the corner closest to you, and make sure it is perfectly straight and lined up. If it is not straight, the image that is scanned will not appear straight when it goes from physical to electronic. Therefore, keep the document straight. When done place the lid back on top. With a scan, you want as little light to get in as possible because that creates the best looking image.
Some scanners have an automatic document feeder (ADF) which is where the documents are laid on a tray and one by the one, they are pulled into the scanner. However, not all scanners have this. What all scanners do have is a flat glass section. For the most part, this is where the document is going to be placed; however, it can be placed on the ADF tray if the scanner comes equipped with it.
Once the document is ready, hit the scan button either on the scanner or on your computer. The scanner will begin to work. Depending on the scanner, it might take fifteen seconds or it might be done in a few seconds. The scanner will stop running and when that happens, you can lift the lid and remove the document.
When the document appears on the screen, take a look at it and make sure it looks the way you want it. If it doesn’t, take another scan. Once you are finished, save the document and shut the scanner down. You can now start to edit and work on the actual document. It should be noted that when you scan a text document, you are taking a picture of it and therefore, cannot change the wording of the text document.
How to Scan a Document Using a Smartphone
It is actually possible to scan a document even if you don’t have a dedicated scanner device, if you have a smartphone such as the iPhone or one of a variety of Android smartphones equipped with a camera. Just install the CamScanner app from the App Store or the Android Market, launch it, and take a photo of your document with it. You’ll have to make sure to put the document on a flat clean surface, and hold the phone steady while taking a photo. It is recommended to do this in a well lit space as the flash doesn’t distribute light equally to be optimal.
Once the photo is taken the app will offer you some enhancement options that will sharpen up and optimize the scanned document. It will also offer some options to upload or share the document.
Other apps are likely to be available in addition to CamScanner from the App Store or Android Market, if you are willing to look for a preferred option.
|
|
Comments - No Responses to “How to Scan Documents”
Sorry but comments are closed at this time.