
Boundary Around a Picture
STEP 1: First open an image in Photoshop.
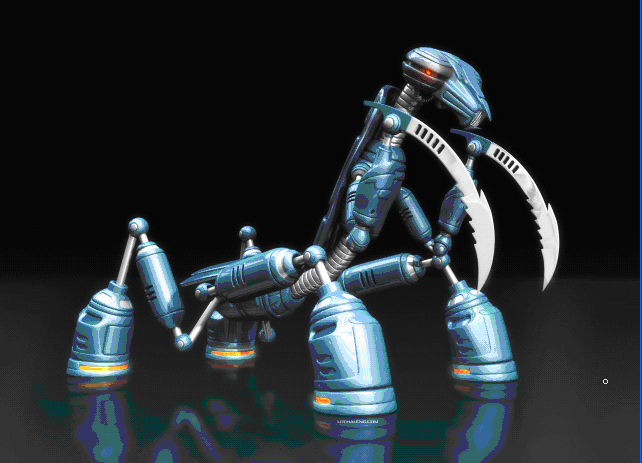
STEP 2: Select an area in the picture.
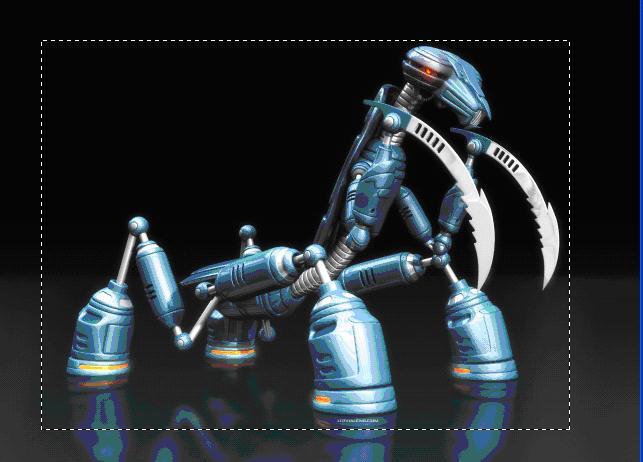
STEP 3: Now Invert the selection by pressing “ctrl + shift + I” keys
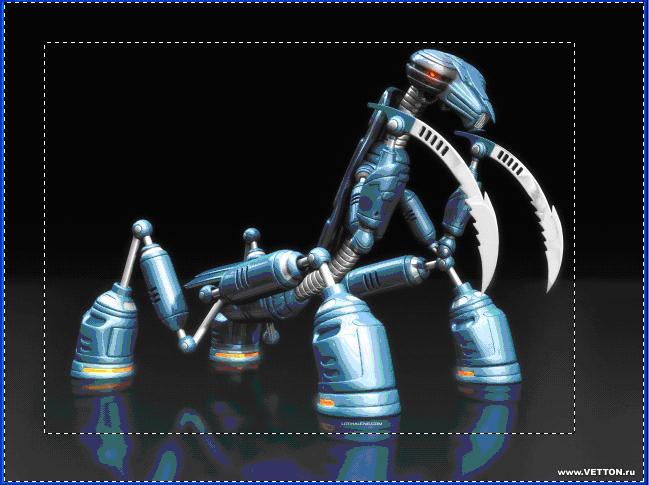
STEP 4:
Now press the “Edit in Quick mask Mode” as shown in the figure or just press key “Q”.
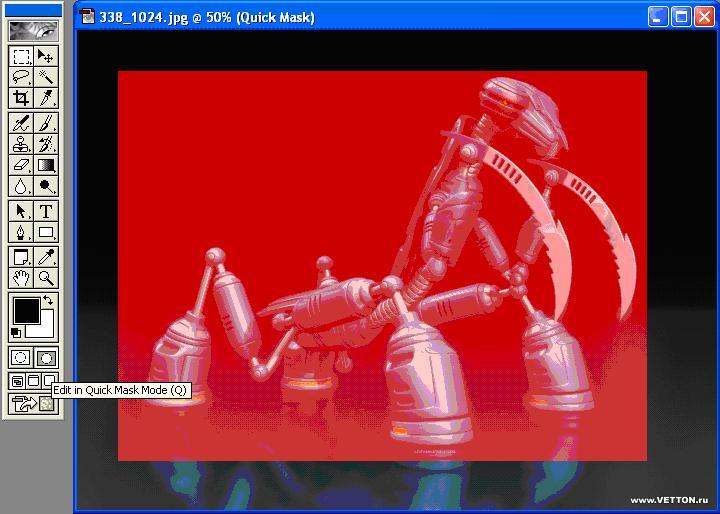
STEP 5: We add a filter to the quick mask of the picture.
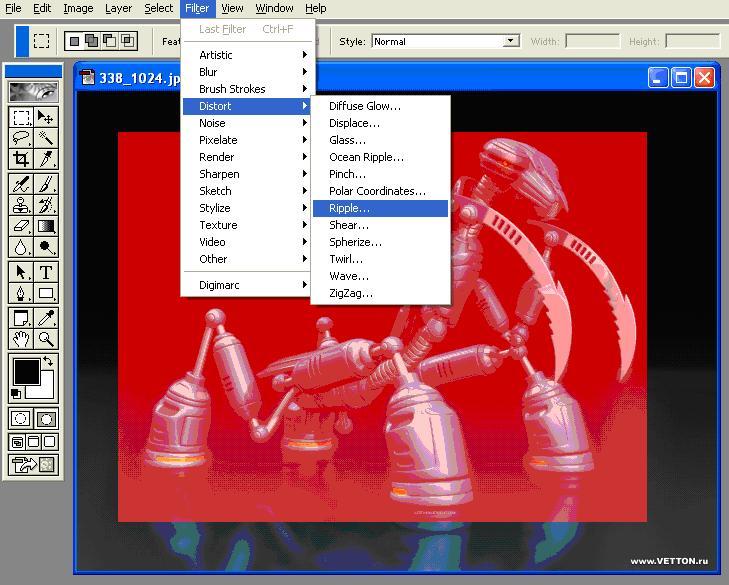

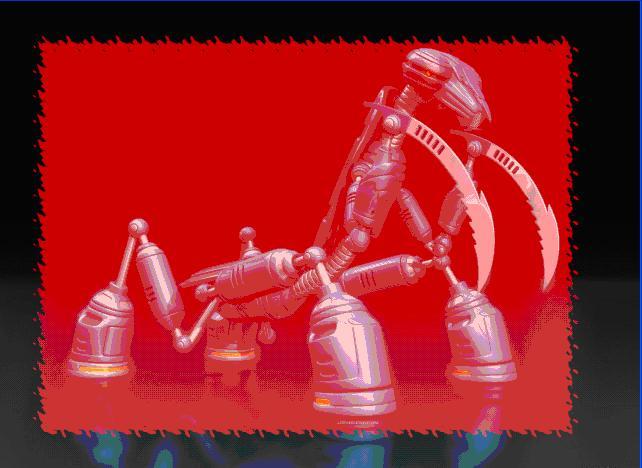
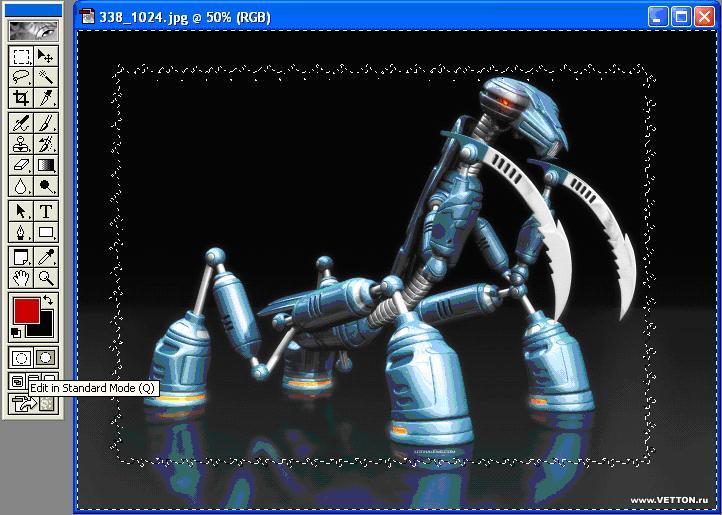
STEP 6:
Now press on the “Edit in standard mode” button as shown in the picture or press “Q” again.
STEP 7:
STEP 8: Remove the background
STEP 9:
Now add a “layer style” by clicking on the “layer style” option as shown in the figure.
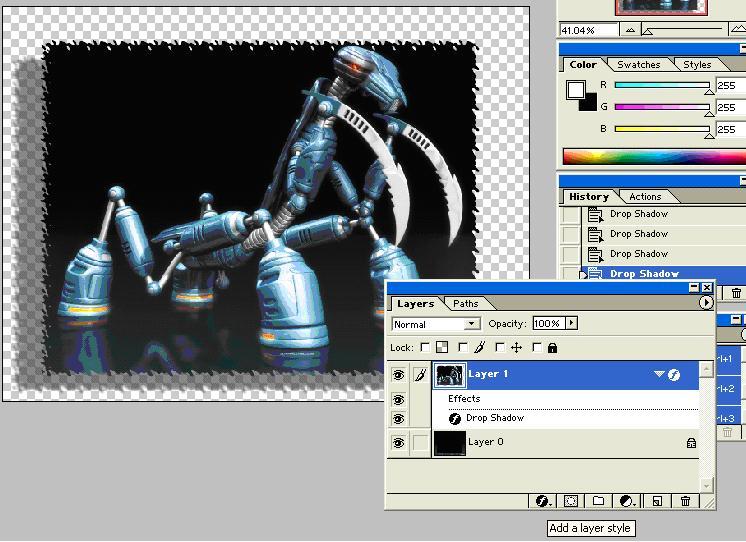
Note: You can put other “layer styles” under the same menu.
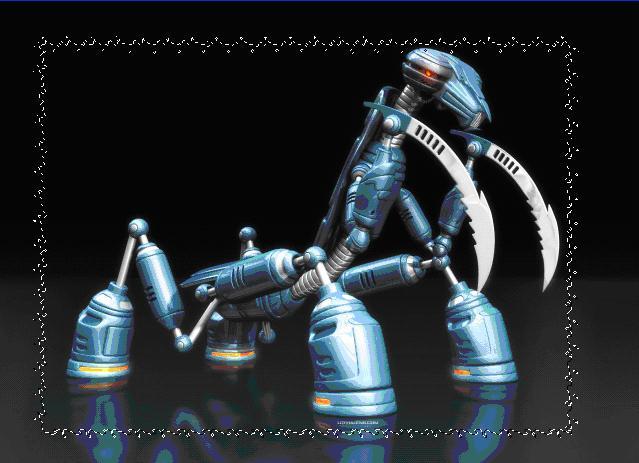
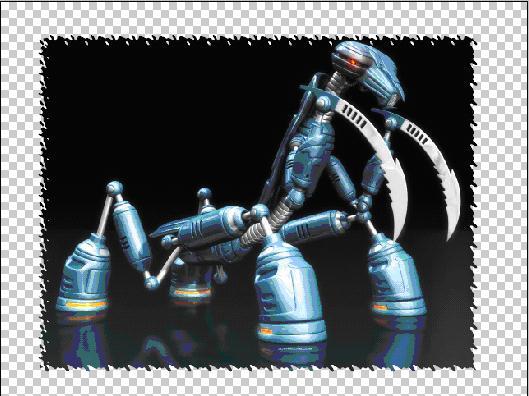
STEP 10: Here is our final image.

|
|
Comments - No Responses to “Boundary Around a Picture”
Sorry but comments are closed at this time.