
Blending Images
This simple step by step guide shows you how you can seamlessly blend two images together using Photoshop.
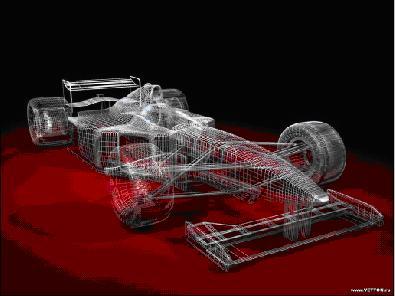
STEP 1: Open the two images as separate documents in Photoshop.
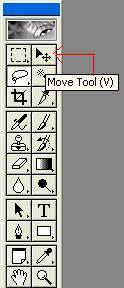
STEP 2: Now we will have to combine the two images into one document. This can be done by using the move tool "V" and dragging one image into the other document, the dragged image will make a new layer in the first one.

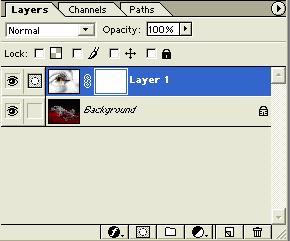
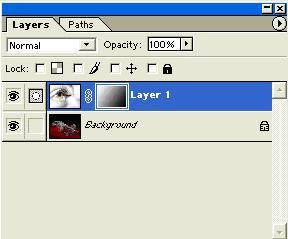
STEP 3: To Add a mask
Click on the add mask button as shown in the image below.
This will create the layer mask. At the moment the layer mask is transparent. It can be painted black to show the image below but when colored white it will keep the image below hidden.
STEP 4: Now use the Gradient tool by pressing "G" key. You must make sure that the fore and the background are black and white; this can be checked by pressing "D" key.

Select linear gradient and foreground to background.
Now drag the gradient arrow diagonally in the image.
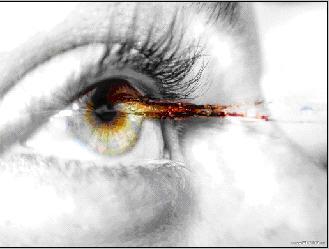
STEP 5:
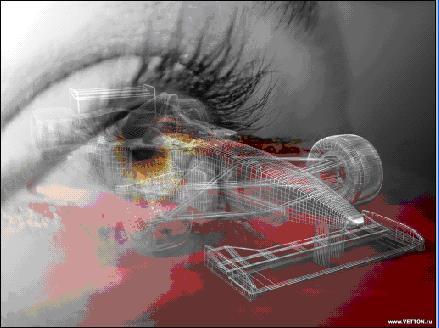
This is the final image, as you see in image 2 that the portion of the layered mask which is white shows the layered image visible while the portion which is black shows the background.
Since in this picture the layered mask shows top left corner white hence the photo is visible and the background has disappeared while the bottom right corner is black hence in the image the background is more visible than the picture.

Note: Experiment the gradient tool with different angles.
|
|
Comments - No Responses to “Blending Images”
Sorry but comments are closed at this time.