How to Install a WordPress Theme
These directions can be followed to install a new WordPress theme on your website. It is assumed that you already have a web hosting account with WordPress installed.
You have two options for installing WordPress themes.
You can browse and install themes directly from the WordPress Administration panel, or you can download them from a website and install them manually.
Direct Installation Using WordPress
When installing themes directly from your WordPress client, you’ll first need to log into your WordPress client by going to the following URL: yourwebsite.com/wp-login.php.
Next, select the Administration panel, and click on Themes.
Select Install Themes. From here, you can use the sub-menu to browse new themes. Browse until you’ve found a theme you’d like to install, and then select the theme.
Once you’ve located the theme, you can click on the Preview link to see a preview of what the theme will look like once it is installed, or you can click on the Install link to upload the theme.
Manual Installation From a Website
Downloading Your Theme
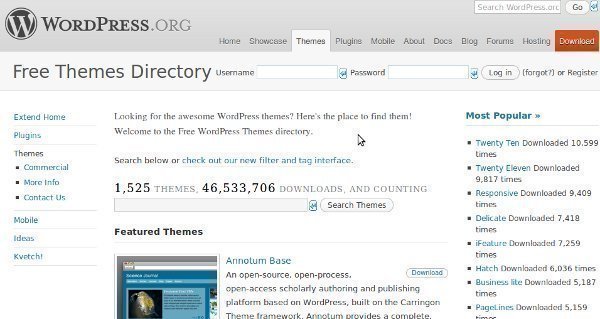
A new WordPress theme can be downloaded manually from a website, and then stored as a file on your computer. The official website for downloading new WordPress themes is the WordPress Theme Directory.

Uploading Your Theme to Your Web Hosting Service
After downloading your new theme, you have three options.
You can use an FTP client to upload the file; you can use your web host’s file manager, which is usually a program such as cPanel, DirectAdmin, or Plesk; or you can add the theme using the WordPress Administration panel.
Upload with FTP Client
When using an FTP client to upload the file, you will want to extract the .zip files to your PC, making sure to preserve the directory structure of the archive.
Using the FTP client, create a sub-folder in the wp-content/themes directory in which to save your new theme.
Then, follow the directions below for selecting your new theme.
Upload with cPanel or Other File Manager
We will be taking cPanel as an example of using a web host’s file manager.
In the cPanel File Manager, navigate to your themes folder. The themes folder can be found in wp-content/themes as a sub-directory of the original folder to which WordPress was installed. Most often, this folder will be the root directory of your website.
Once you’ve found your themes folder, click on Upload File(s) and upload the .zip file you saved in the first step.
After the file has been uploaded, click on the file name in cPanel, and then click Extract File Contents, which can be found in the panel to the right.
After doing so, use the directions below for selecting the theme to activate it.
Upload using WordPress Administration Panel
When using the WordPress Administration panel, you’ll first need to log into your WordPress client by going to the following URL: yourwebsite.com/wp-login.php.
Select the Appearances panel, then click on Themes.
Use the Upload link to upload the .zip file of the theme you have already downloaded.
Then, use the following instructions to select the theme for activation.
Selecting Your New Theme
To select your new theme, you’ll need to log into your WordPress client by going to the following URL: yourwebsite.com/wp-login.php.
In the Appearances panel, you will find a Themes tab. Go to this page, select the new theme by looking in the Available Themes section, and then click Activate.
Refresh your website, which will verify that the new theme has been activated.


Comments - No Responses to “How to Install a WordPress Theme”
Sorry but comments are closed at this time.