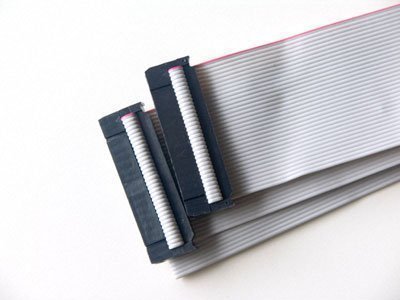
How to Use an IDE Cable
An Integrated Drive Electronics (IDE) cable is one of the most used standard electronic interface cables that connects a motherboard’s data bus with storage media. The interface’s design is based on the IMB Industry Standard Architecture (ISA) 16-bit bus standard that was approved in 1990, and it has since been expanded to be used on motherboards that use other bus standards. The IDE standard has since been updated with the Enhanced Integrated Drive Electronics (EIDE) connection design and is often built into a motherboard as well. The next generation of connection standards is the Serial ATA or SATA connection standard. However, IDE is still commonly used for hard drive interface technology. A common task that consumers who work on computer hardware face is how to use IDE cables.
How to Use an IDE Cable
Step 1 – Insert the cable’s main end into the mainboard connector. This is the connector that is set apart from other secondary connectors. Put the protrusion on the IDE cable into the slot on the mainboard connector when making the attachment.
Step 2 – Set the jumper position on the drive to be connected via the IDE cable to the cable select position. This position is labeled “CabSel” or “CS.” If there is only one drive to connect, attach it to the connector at the cable’s end, not its center. This makes the drive the primary or master device for the computer.
Step 3 – After connecting the primary device, connect the secondary devices to one of the secondary device connections after setting their jumpers to the cable select position. The computer will then acknowledge them as secondary drives or devices.
How to Remove an IDE Cable
Step 1 – Remove the computer hard drive’s hard case covering. Two bolts, screws, or clamps normally affix this covering.
Step 2 – Hold the hard drive case firmly and be sure not to touch metal in the computer case or wear an anti-static wrist strap in order to be properly grounded.
Step 3 – Firmly grasp the IDE cable and pull it straight away by evenly exerting pressure on each side of the cable. Removing the cable takes a bit of effort. While removing the IDE cable, ensure that no other components inside the computer is touched.


Comments - No Responses to “How to Use an IDE Cable”
Sorry but comments are closed at this time.